How do you make rubber mouldings?

Our Rubber moulding processes are manufactured in a number of ways depending on the required quantity and the shape of the finished product.
The 3 main methods of moulding are compression, transfer and injection. We will discuss these further, below.
When a part cannot be produced from calendared rubber sheet, the rubber moulding process is used. This allows awkward or difficult shapes to be produced in a range of compounds.
Rubber mouldings can also incorporate metals for additional strength and rigidity. We produce a range of brass lined bushes and other rubber to metal bonded components.
Vulcanisation is the process that is used to “cure” rubber mouldings. The method uses heat and pressure to cross link the curing agent, (usually sulphur) with the polymer. There are other curing agents including peroxide, bisphenol and platinum.
We have access to over 23,000 different formulations of compound and have the expertise to develop application specific grades.
Table of Contents
Compression Moulding
The process of compression moulding utilises a metal mould tool, either steel or aluminium in the shape of the finished part, taking into account the polymer’s shrinkage rate.
Shrinkage rates generally vary between 1 and 5%. We have a guide here. Most compounds shrink by around 1.5% unless they need to be post cured. Post curing causes an additional 1.5% of shrinkage.
Compression moulding is usually used for larger parts or where the cost of tooling is a factor. Typically, compression mould tools range from £150 – £3,500, whereas Injection moulding tools start from around £4,000.
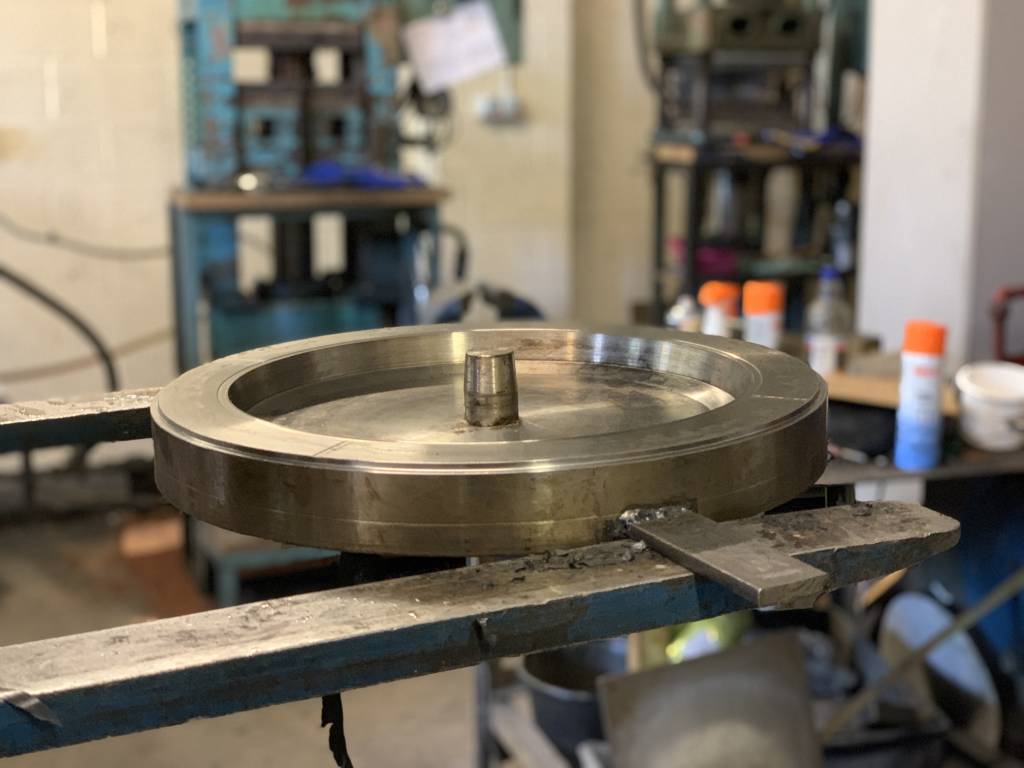
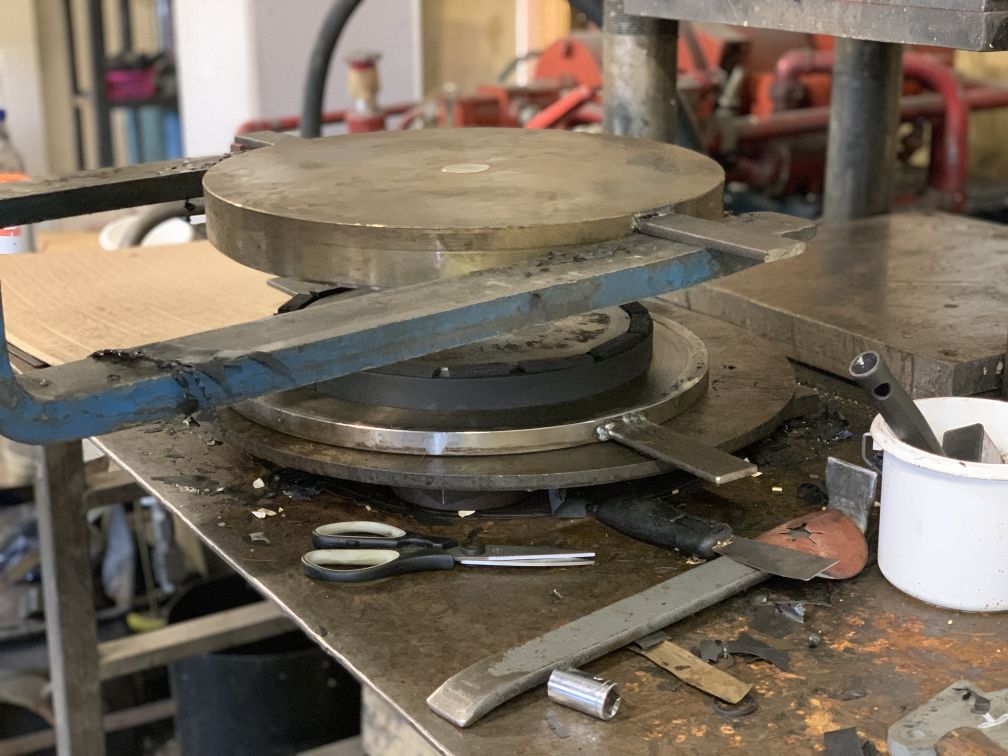
Step by Step Compression Moulding Process
- The mould tool will be preheated prior to the raw compound being added.
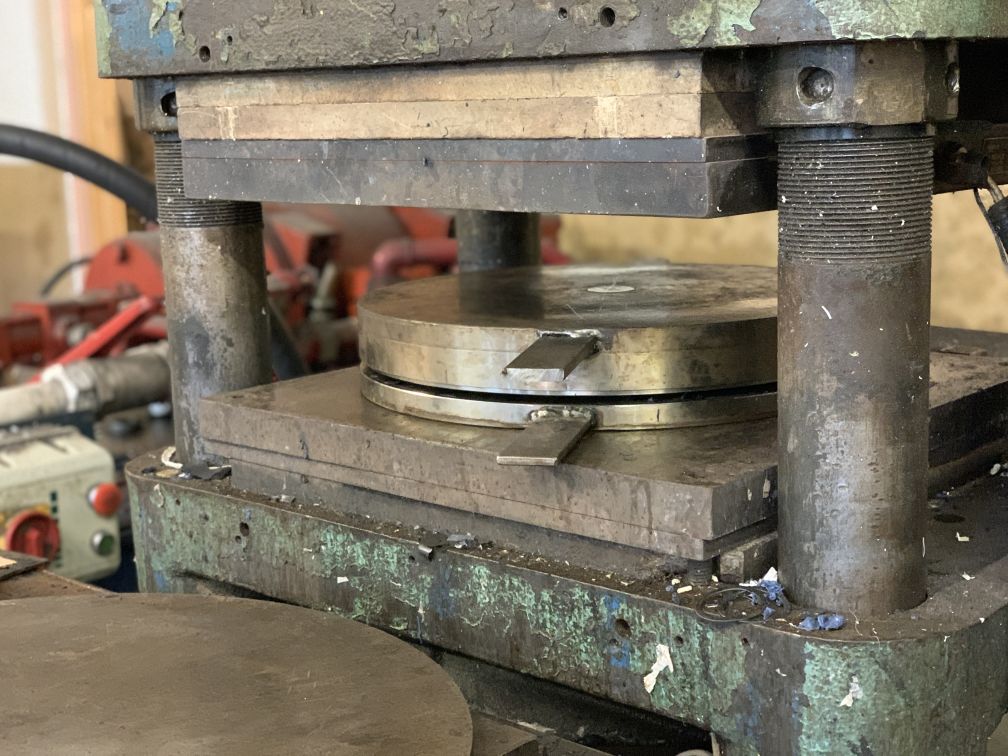
- Once the compound is in the tool, the lid is put on and put into the heated moulding press. In this instance the press is running at 180° C.
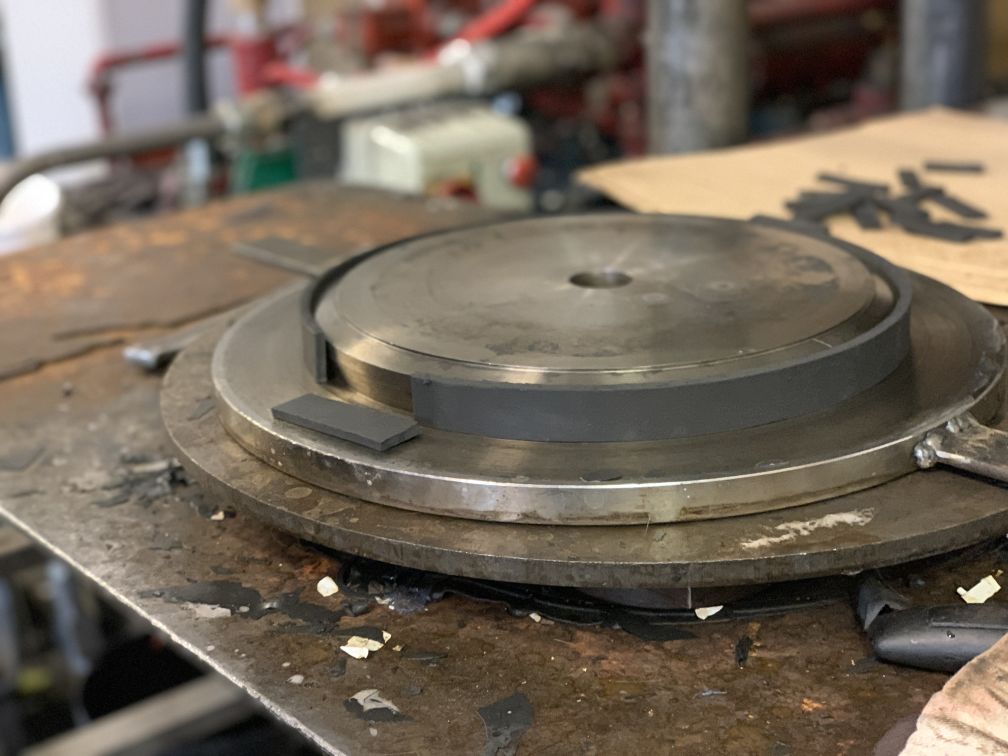
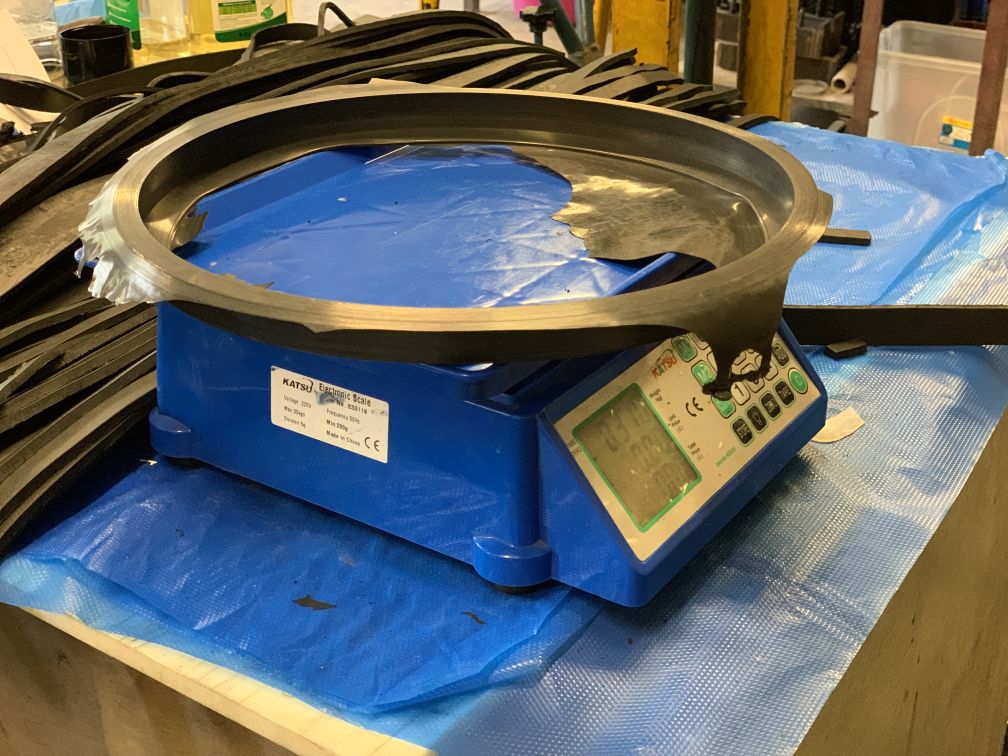
- The press is closed and the compound melts and flows around the tool, forming the part. The cure time is dependent on the type of compound and the weight of the part. This particular job has a 14 minute cure time.
- Some larger parts that we mould have cure times of up to 6 hours. One particular part weighed 13 kilos.
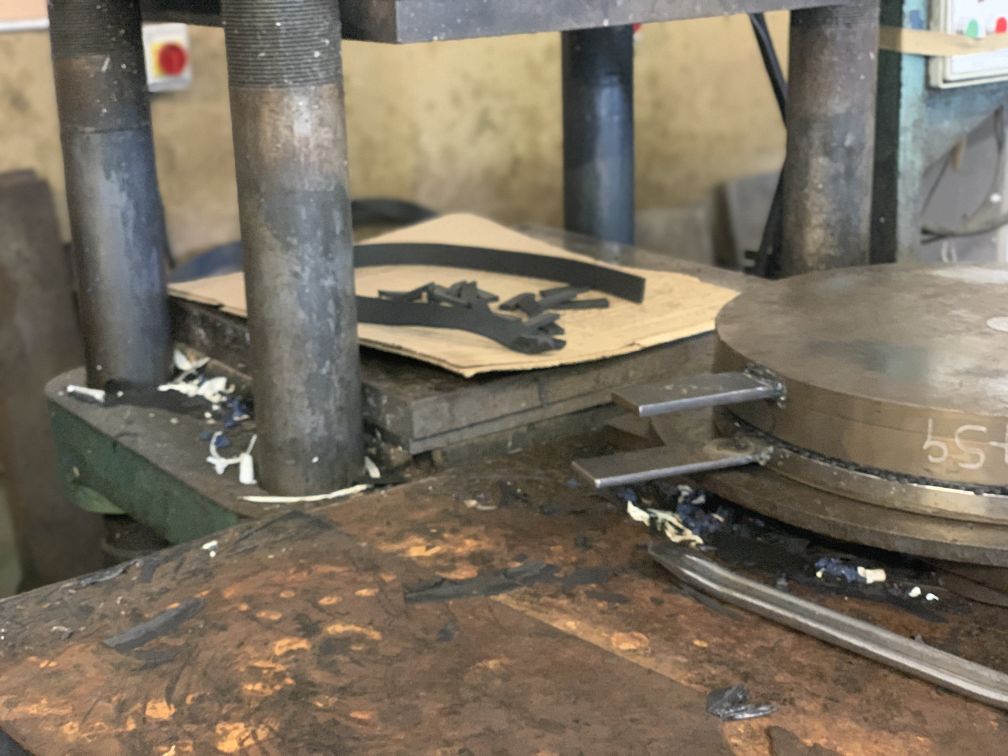
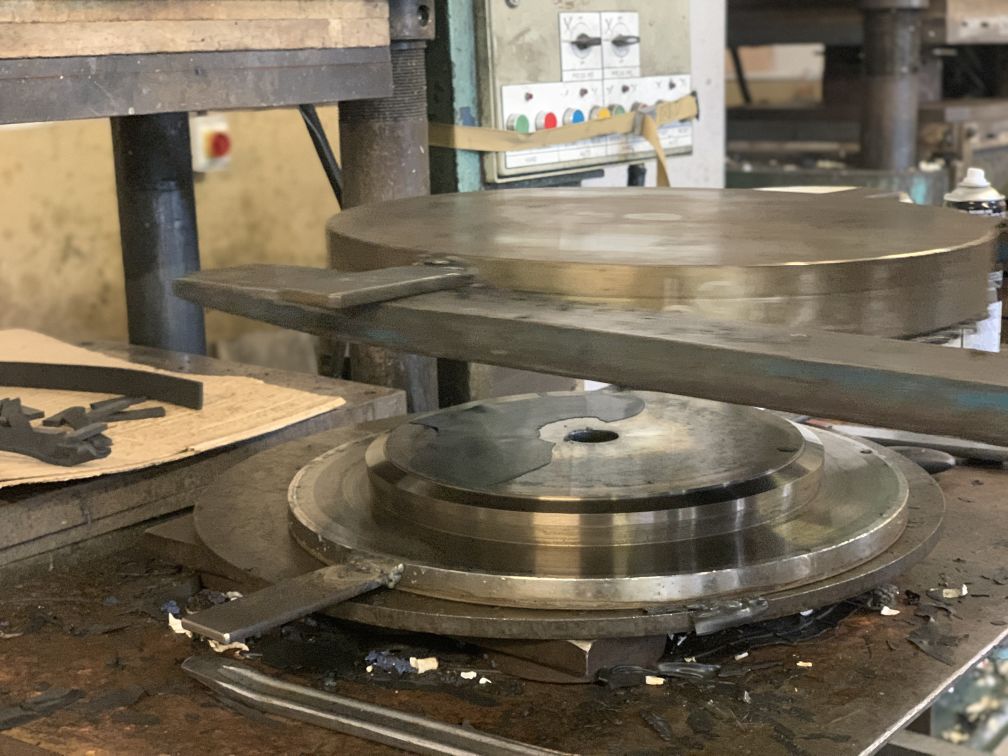
- After it has cured the moulder removes the tool puts some compound on the warm press to make it easier to load ready for the next “lift”. A “lift” is the phrase used to describe each time a tool is opened to remove the moulded part/parts.
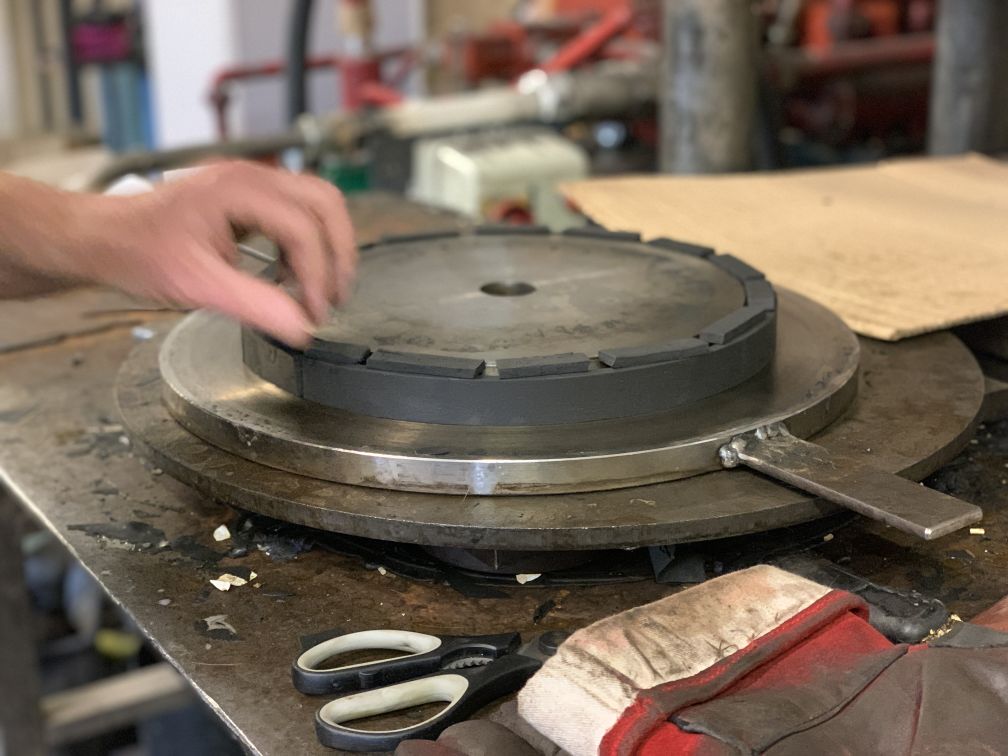
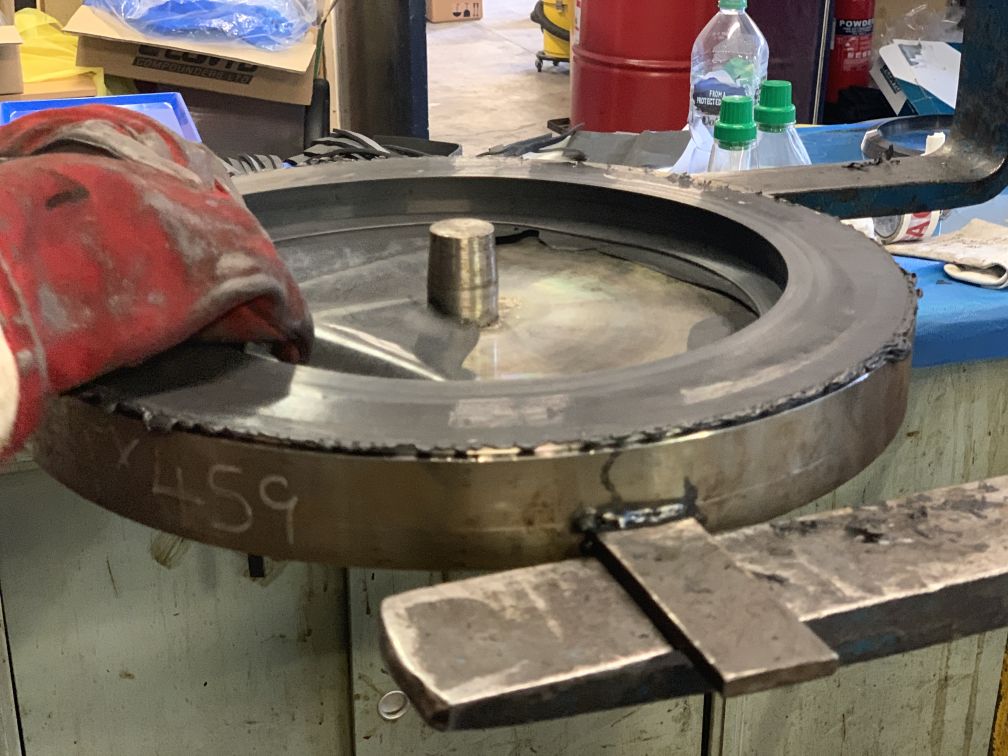
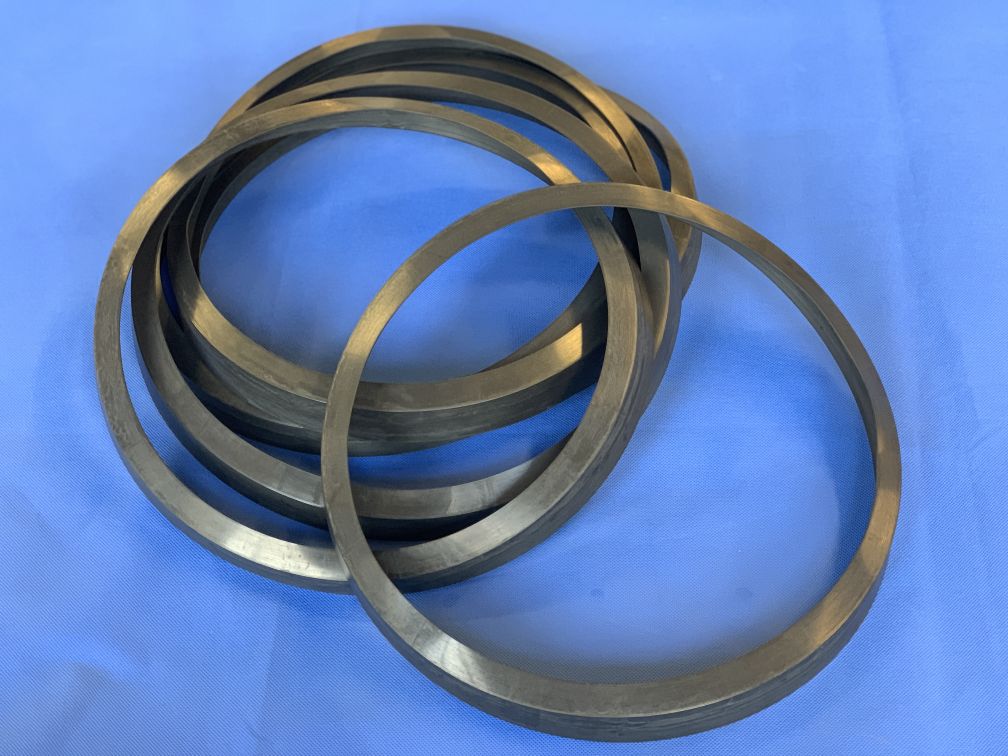
- The tool is then opened and the part removed. It is examined for any splits then the flash is trimmed off.
- As the compound being used in this illustration is Viton™ A, the parts will require post curing for 16 hours in one of our ovens, at 200° C.
Compounds based on Chemours Viton™ and other fluoroelastomers are commonly subjected to a two-stage cure cycle, in order to optimise physical properties. Compression set and tensile strength are two of the properties most often improved by an oven post-cure cycle.
Transfer Moulding
Transfer moulding, or transfer pot moulding, is used when the part is very fiddly, small or complex, meaning that it would be difficult to load the compound into the tool.
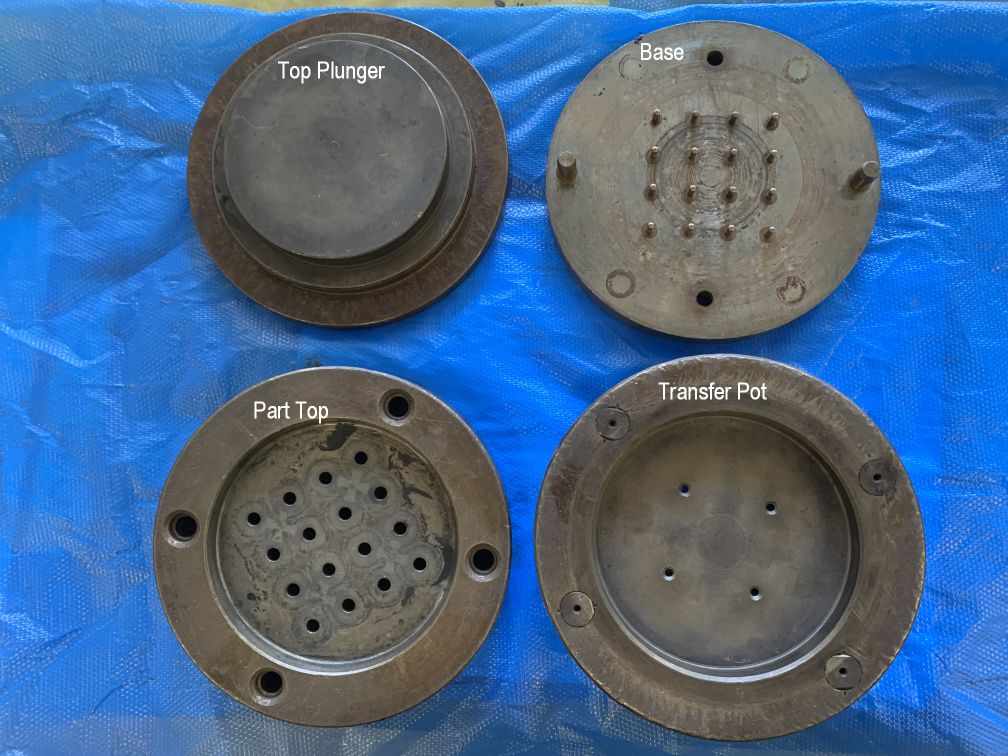
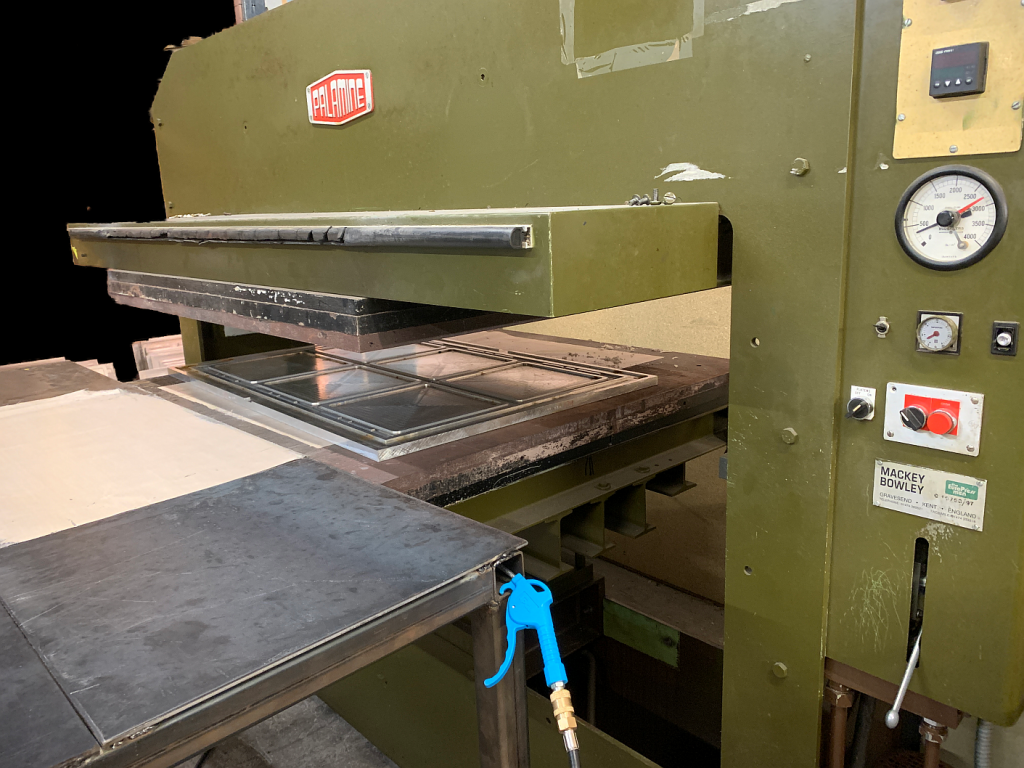
You will see in the example below that this transfer pot tool has been made to mould 16 parts in one “lift”.
It was designed this way to speed up the process of loading the tool, then removing the parts. Therefore, this saves the customer money because it reduces the moulding time.
Step by Step Transfer Moulding Process
- By removing the top plunger, the rest of the tool remains assembled.
- Compound is carefully weighed to ensure that the parts will form but at the same time, minimising wastage.
- Raw compound is placed in the transfer pot and the top plunger is put on top.
- The mould tool is then put in the moulding press and the press is closed.
- Because the press is hot, it causes the compound to melt. This forces the rubber through the transfer holes into the bottom section of the tool which forms the parts.
- The parts are removed once cured and the process is repeated.
If there are a large quantity of parts to make, a transfer mould tool makes sense, as it produces the parts quicker due to being multi-cavity which saves the customer money.
Injection Moulding
When thousands of parts are required, injection moulding may be the best route because the process is usually automated.
Because it is automated, machines can be left running with minimal human contact. This brings the labour cost down meaning injection moulded parts are generally more economical to produce once the tooling has been accounted for.
Injection tooling is more expensive than compression mould tools. Typically £4,000+, so you need a lot of parts to cover the tooling cost!
Typical examples of injection moulded parts are seals for the automotive sector and extremely high use parts, like o-rings
Step by Step Injection Moulding Process
- The appropriate mould tool is fitted into the injection moulding press.
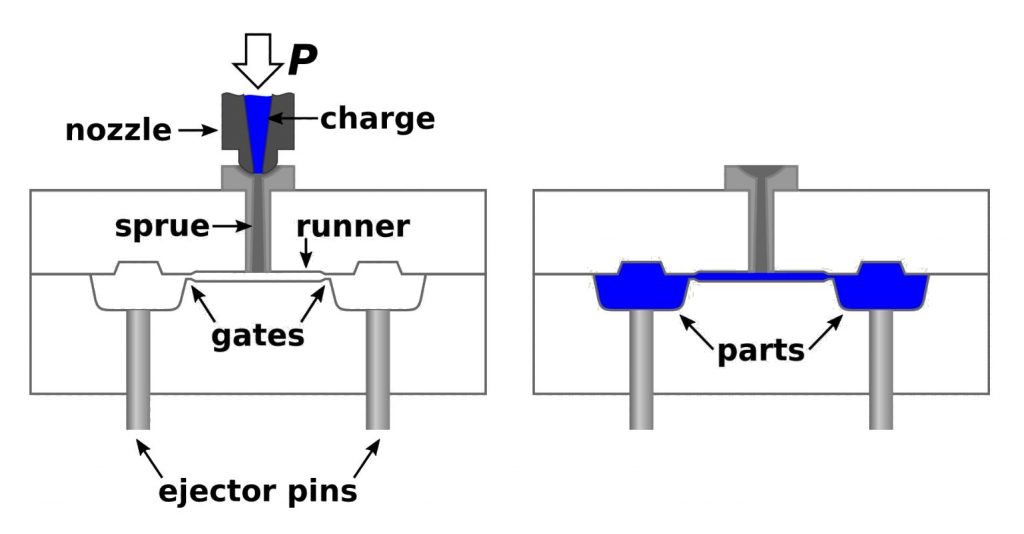
- A precise amount of rubber compound (or shot) for the part is fed into the heated barrel which mixes it and then injects it into the mould cavity.
- It is heated to allow the rubber to flow through the gate and runner system to fill the cavity/ies evenly.
- When the compound is cured, the mould tool opens and the parts are removed either manually or automatically depending on the style of press.
It is also worth noting that although injection moulding can save costs over time on a large production run, material is limited to free flowing compounds.
Moulding Summary
In summary, deciding on the best moulding process involves the following points.
- Quantity of parts required.
- Cost of parts verses tooling.
- Type of compound required.
- Shape of finished parts, i.e. can it be compression moulded?
- What tolerance on the finished product is required. Click here for tolerances.
We offer all three types of rubber moulding processes. The most common being compression moulding. Our compression moulding presses range from 400mm – 1100mm in size.
We have around 4,000 compression mould tools available, including tooling for a lot of commonly used parts.
These include sheet and disc moulds for moulding non-standard compounds such as conductive, metal-detectable, DTD grades, different colours and hardness’s etc.
We also have a range of tooling for o-rings, manway seals, Unicones, lid seals and gaskets for vac sealing machinery.
Our compound range is extensive and we generally carry around 200 raw compounds on the shelf. Customer or application specific compounds can be mixed and processed quickly.
If you need any help or advice simply give us a call or fill in the enquiry form and one of our technical team will help you out.