Before you can make a new gasket seal, you have to start with the right gasket material. Some gasket materials work well for fuels and oils, and other materials are better off when used with coolants.

There are gasket materials like a new cork (above) that can stop leaks, but a few sheets of gasket materials can be less expensive than one tube of silicone or a gasket maker.
Knowing how to make a new gasket seal will help you in the future and we’ve got the steps for you to make your own below:
1. Trim the new gasket material to fit
When you have chosen the right material for the new gasket seal, you need to set the part and trace an outline with a marker.
This doesn’t have to be exact or super precise, it just has to be a rough guide for you to follow. Cut a hole in the material if the impeller interrupts the flat plane. When you line up straight sections of the part with the factory edge of the gasket material will help you to save time on trimming and cutting in the future.
2. Holding pressure
You should spread Gasgacinch on both of the surfaces and give it time to dry. The gasket has to stay firm on the removable part of the machinery and that means mating up the gasket material and part onto a flat surface.
Keep the pressure to create a bond and ensure that you have the right fit and the Gasgacinch is entirely dry before you let go.
3. Think about a new blade
Snap the dull end of a disposable knife or add a new sharp knife blade in an X-Acto knife. Add the part and gasket on some backing wood and cut the gasket material around the perimeter. You need a cutting surface that sits flat, and then you can cut around the outside edge
4. Make the first cut
Cut out the inside edge of the surface using the part as a cutting template. Try out a rough cut first, and trim out the tighter sections.
For the bolt holes, you can use a knife or a hole punch to do that and then work to trim out all of the stragglers. This is one of the easiest parts of the process because then you can install and then put the gasket material away for the next one you create. You don’t need to use any silicone, either, not unless you have a manual that asks for it.
Bolt holes
You want to make sure that the bolt holes are clean and free of debris. You can use a pencil to mark where you need to cut out the gasket material, The knife becomes more flexible, less susceptible to fracture and in a very short time.
5. Add coating (optional)
This isn’t a must in the process; you can do this as an optional step. Coat the mounting surface of the gasket with a layer of motor oil. This will keep the gasket from sticking and be easy to mount. It’ll allow you to then remove parts without needing to replace the gasket over time.
Different gasket material
There are different elements that go into making gasket seals as well as attaching those parts together with tightening screws. We’ve already gone over how to make a gasket seal with cork, which is good if you don’t have too many options available like we discussed above. But what about a different gasket material? How do you make a gasket seal with rubber or plastic?
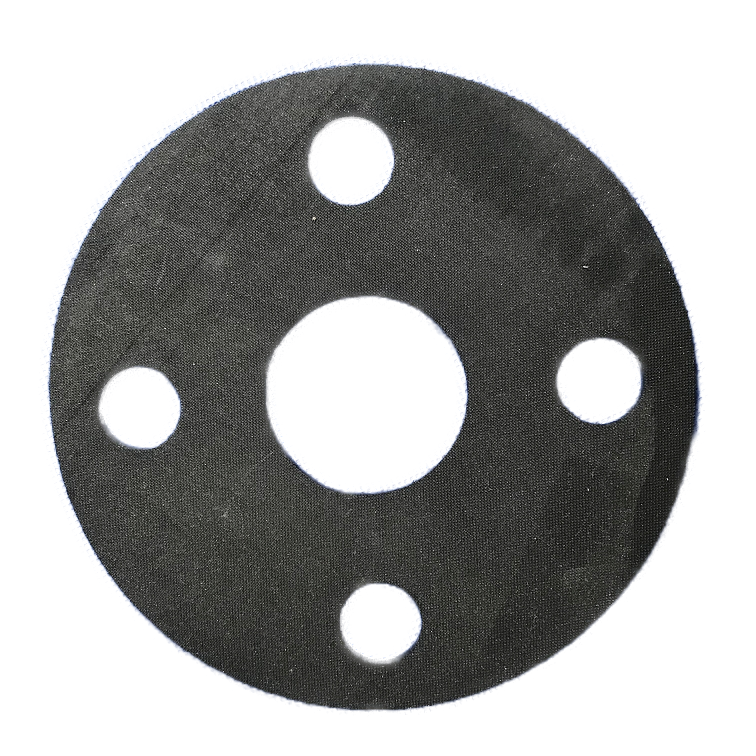
Rubber for Gasket Seals

The most common alternative is to use rubber, which has good compression properties and can be stretched over the surface. It creates a tight fit that is resistant to heat, cold, oil, water, dirt, solvents and chemicals. These are all things that are present in the engines of different vehicles. It’s also cheap enough to work for your needs most times. You don’t have to go through too many steps before you’ve got everything together properly
Step One: Clean the new gasket surface with an alcohol solution or soap and water mix so they are free from any contaminants before you assemble them together
Step Two: Apply the sealant onto the two surfaces to be assembled. You can use a toothbrush or other applicator brush if you want to make sure that there are no spots missed.
Step Three: Fit the gasket material pieces together. One of the surfaces should be slightly larger than the other because it has to fill in all of those small spaces for a proper fit. You’ll need clamps or weights after you’ve got everything lined up properly to keep things steady during the curing process.
Let it sit for 24 hours before removing any excess gasket material around the edges with an X-Acto knife, letting it sit overnight or longer so that it is nice and dry before taking care of your own gasket problem once and for all.
Other gasket material alternatives
Conclusion
With this article, we’ve gone over some of the steps involved with making your own gasket seal using cork. We also talked about how rubber and plastic can be used as an alternative gasket material.
If you’d like more information on the types of gasket and gasket material, there are some related links and further resources below.
It’s important to consider hiring a reputable company to do this for you if you don’t feel like doing it yourself. WC MUNSCH & CO will be able to discuss your sealing requirements further and will help you choose the right material for any particular gasket you have in mind.